What is a center drill?
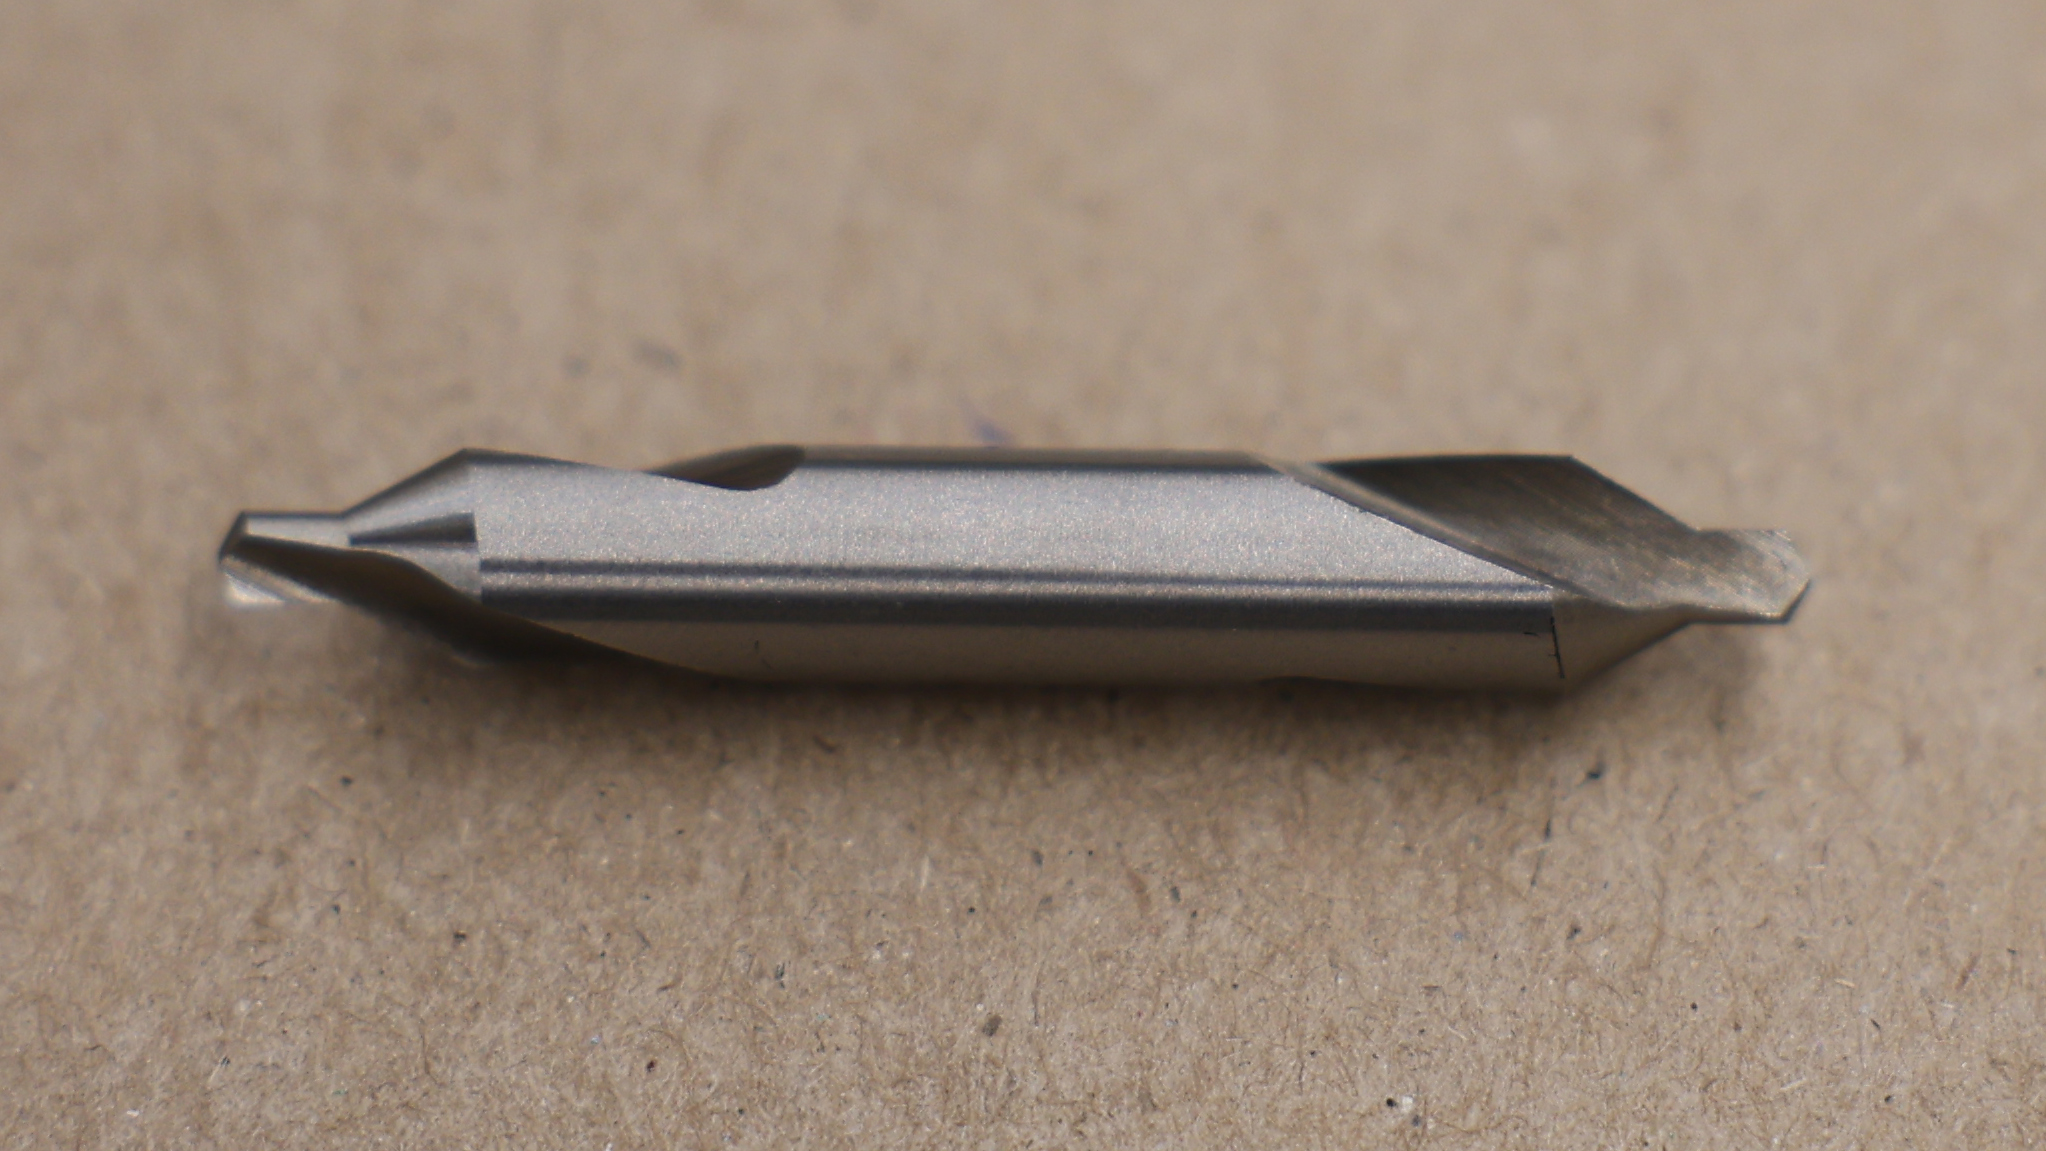
The center drill is a "2-in-1" tool
The center drill prepares a workpiece to receive a live center.
It has two cutting features:
- Pilot Drill: The small tip that creates a starting hole for the countersink and provides relief for the tip of the live center.
- Countersink: The 60° conical section that matches the 60° taper of the live center.
Avoid confusing these similar tools for a center drill...
Spot drills, chamfer mills, and countersinks have different purposes and angles. Don't substitute them for a true center drill.
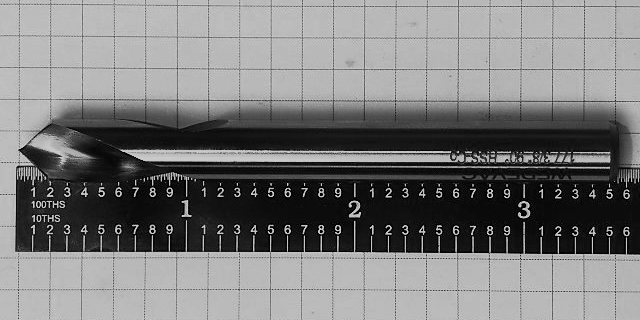
A spot drill is short and rigid, used to make a small hole that stabilizes a drill as it begins to cut. Its tip angle is 90° so it cannot be used to make the hole for a 60° live center.
TO CLARIFY:A center drill has a "spot drill" section, but the center drill also includes other features.
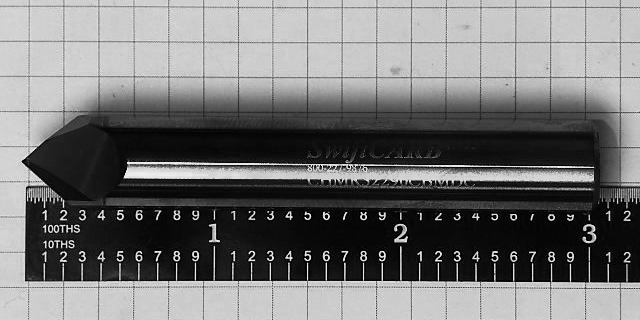
The chamfer mill is used to mill chamfers on the edges of a part. It's not used to start a hole, and it's not used on the lathe.
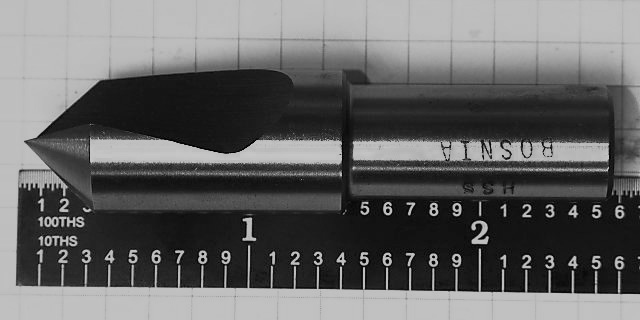
A countersink is not used to start a hole. It cuts a chamfer at the edge of a hole, usually at 82° to receive a flat-head screw.
TO CLARIFY: a center drill does have a "countersink" section, but its angle and purpose are different.
Procedure: Setup and Technique
Center Drilling: The Animated Version
- Oil
- Between each cutting action, retract the center drill to apply cutting oil and clear chips.
- Spot
- Use the tip of the center drill to create a starting point for the pilot.
- Pilot
- Make the hole for the countersink to expand.
- Countersink
- Make the 60° conical hole for the live center.
- Conical Contact
- We want cone-in-cone contact (matching tapers) between the workpiece and the live center for full kinematic constraint.
- Ring Contact
- Over-drilling will result in ring contact, which will not fully constrain the orientation of the workpiece.
Workflow: Center Drill
- Face the workpiece before drilling.
- Drilling into a rough, saw-cut face will likely break the tip of the drill.
- If you have features to cut on this end, hold the workpiece with enough material extended to make those features.
- Otherwise, choke up the stock in the chuck.
- Pause to consider...
- Has anyone been cutting tapers with an offset tailstock?
- Calculating RPM:
- What diameter to use? → This is a good discussion... I'll use half the tool's diameter as a fair compromise.
- Use cutting oil at each step.
- Do not drill deeper than countersink.
Checklist
- Face the workpiece before drilling.
- Drilling into a rough, saw-cut face will likely break the tip of the drill.
- If features are needed on this end, extend enough material to make those features; otherwise, choke up in the chuck.
- Pause to consider: Has anyone been cutting tapers with an offset tailstock?
- Calculate RPM. As a rule of thumb, use half the tool's diameter as an effective diameter for SFM-based RPM.
- Use cutting oil at each step.
- Do not drill deeper than the 60° countersink.
Principles: What makes a good center?
What does the print say?
If the print calls out a center:
Make your center as the blueprint specifies... it's a part feature and an aid to manufacture.
If the print doesn't call out a center:
Leave extra material to remove the center later, or ask the customer if leaving a center would be acceptable.
If the part has a bore or other ID feature:
Make the center deep enough for its diameter to chamfer that ID feature, unless the print specifies otherwise. For example, if the print specifically calls out a 45° chamfer, you can't leave the 60° surface so you'll have to make the center smaller than the bore.