Procedure
Clean & stone contact surfaces
The mill table and the underside of the vise must be clean and stoned flat before the vise can be placed.
The "when, why, and how" of using an abrasive stone on a mill table or vise deserves its own lesson: abrasive stones in the machine shop
Why clean and stone?
A chip between them, or a ding on either, will cause problems:
- The vise will not sit flat on the table, resulting in a wedge‑shaped part.
- The chip will act as a pivot point, making it nearly impossible to square the vise.
- Even if you can knock the vise into square, when you clamp down the second fastener the vise will shift on top of the chip and become unsquare again.
- Further, when you bolt the vise down on top of a chip, the chip will be crushed between vise and table, displacing material on both (making a bump with a dent in the middle).
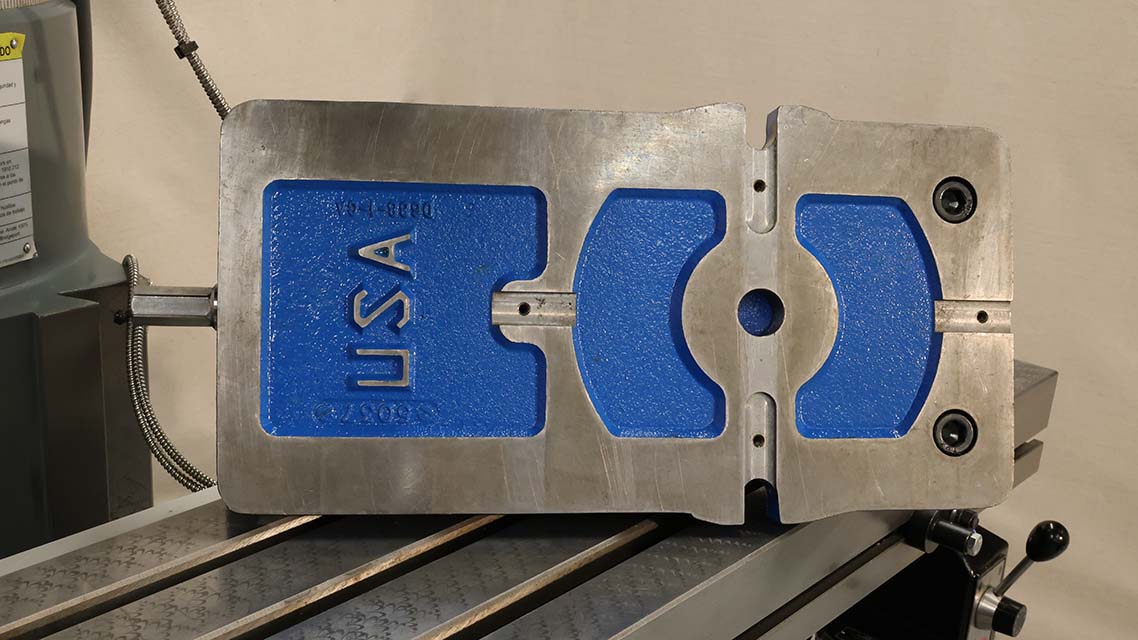
Clean underside of a 6′ Kurt vise.
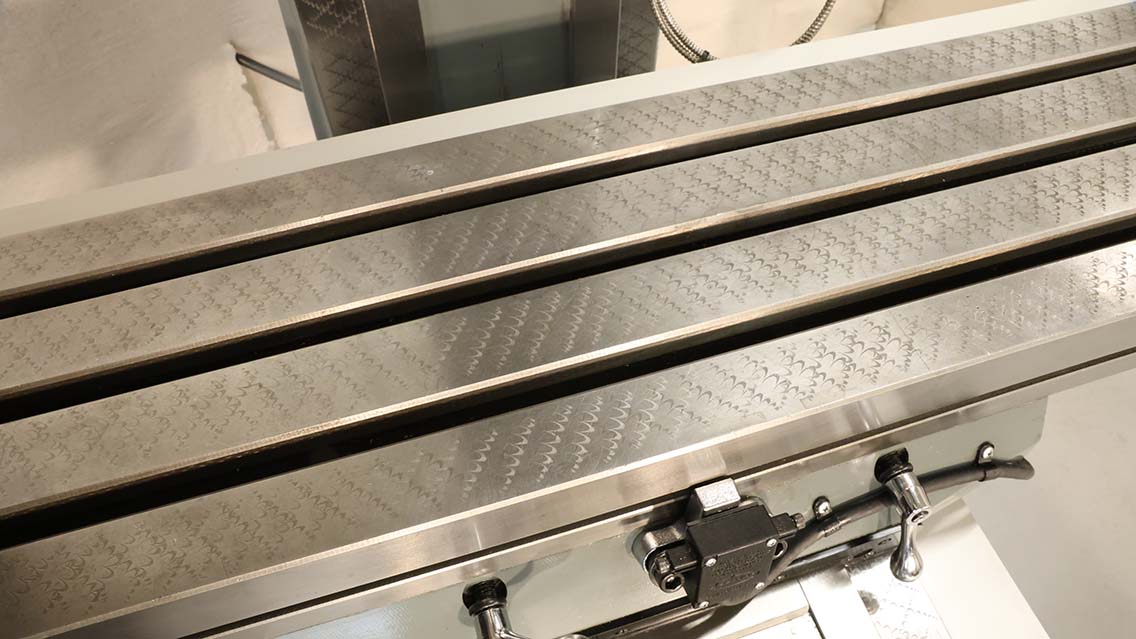
Clean surface of a mill table.
Oil the contact surfaces
Both the table and vise should given a light coat of oil.
After cleaning and stoning both the table and the vise, a thin coat of way‑oil should be wiped onto both surfaces with a clean paper towel.
Why apply oil?
- The oil prevents the table or vise from rusting. Two flat, dry surfaces in contact will rust surprisingly quickly.
- The lubrication also makes it easier to notice whether there is anything affecting the surface contact. Sliding the vise around should feel like sliding on ice. If the vise sticks or spins on a point, something is wrong and should be investigated.
Place the vise on the table
Lower the table to make placing the vise more ergonomic.
Place the vise on the table gently, by rolling into into contact along the edge of the table, then rolling down flat.
Why so gentle?
We usually think of metal as being indestructible, but cast iron is actually quite soft and can be easily upset by impact or rough handling. In the world of precision machining, we need to keep our machine and work‑holding as flat and true as possible, because any deviation from flat, any bump on the table or vise, will be magnified in the parts we make.
If you treat the vise and table like they are made of glass, you will be practicing good habits.
Place hold‑down hardware
I flick the first T-nut under the vise, mostly because it's fun, but you'll also often have two vises on the table, making it necessary to slide hardware under.
Place T‑nuts in the table slots, positioning them under the mounting flanges of the vise. Then, with heavy fender washers, thread in the hold‑down bolts.
What kind of bolt?
- All of the T‑nuts we use are 1/2‑13unc, but other sizes do exist.
- We use a mix of socket‑head cap screws and hex‑head bolts—either is fine.
- The bolts should be long enough to reach the T‑nuts, but not so long that they bottom‑out.
First approximation
Sliding the vise back to nearly-square, and centered on the T-slot.
Before we start the precision part of squaring the vise, we can get very close to square using this sliding technique.
- With the hardware just looser than finger tight, slide the vise forward. This aligns the vise to the bolts in the T‑slot.
- Then, with fingers wrapped under the vise, use the thumbs to drag the vise back,
centering the mounting flanges over the T‑slot.
You can practice this technique at home.
With practice, this technique can reliably get the vise to within a few ten‑thousandths of an inch of square. While nowhere near good enough for precision work, this is a great first approximation and will save time in squaring the vise.
Set up a pivot
Snug one of the mounting bolts. Leave the other loose, or, as demonstrated, removed so that it will be easier to understand the pivot action. Use a dead‑blow hammer to tap the vise around until it is square to the machine.
In this example the bolt on the left is extra loose so that I can demonstrate the pivot - in practice the bolt should be just tight enough that the vise can't be moved by hand.
The left bolt is snug, setting the pivot.
Reading an indicator for Angular Error
Read the dial indicator for the direction of the angular error.
Now, with the pivot set up and the vise approximately square, a dial‑indicator is used to check the angle of the vise's fixed jaw relative to the X‑axis.
I'm using a dial‑indicator here, rather than the more typical dial‑test indicator, but the principle is the same. Dial-test indicators are more sensitive and convenient, just difficult to see on camera. Squaring with a dial-test indicator is demonstrated later in this lesson.
In this exaggerated example, notice how the direction of the needle relates to the direction of the angle. The number can be ignored; what actually matters here is the direction, which tells us the direction we need to rotate the vise about the pivot to bring it towards square.
Tips & Tricks
Sliding the vise
The sliding technique is a great way to get the vise close to square.
Keep your fingers against the edge of the table while your thumbs drag the vise back toward you.
Feel the slide and let your thumbs keep the motion balanced.
Demonstrating the hand position and movement with one hand and a parallel for better visibility.
Practice the slide technique at home with a notebook.